Creating a home workshop is a rewarding project that can enhance your DIY capabilities, support your hobbies, and even provide a space for professional work. A well-organized and functional workshop can make all the difference in the quality and efficiency of your projects. Here’s a step-by-step guide to help you build a home workshop.
Assess Your Space Before You Build a Home Workshop
The first step in building a home workshop is to assess the available space. Whether you have a spacious garage, a basement, or a small shed, understanding the dimensions and layout of your space is crucial. Measure the area and note any existing electrical outlets, windows, and doorways. This information will help you plan the layout and identify any modifications needed to accommodate your workshop.
Plan Your Layout
Once you know your space, it’s time to plan the layout. Consider the types of projects you’ll be working on and the tools you’ll need. Think about the workflow: how materials will move from one station to another. A typical layout includes designated areas for cutting, assembling, finishing, and storage. Ensure there is enough space for larger tools and workbenches, as well as ample room for you to move around safely.
Choose Your Workbench
The workbench is the heart of any workshop. Choose a sturdy, well-built workbench that suits your needs. You can purchase a pre-made bench or build one yourself. Consider the height, size, and features like built-in storage or a vise. Your workbench should be large enough to accommodate your projects but not so big that it dominates your space.
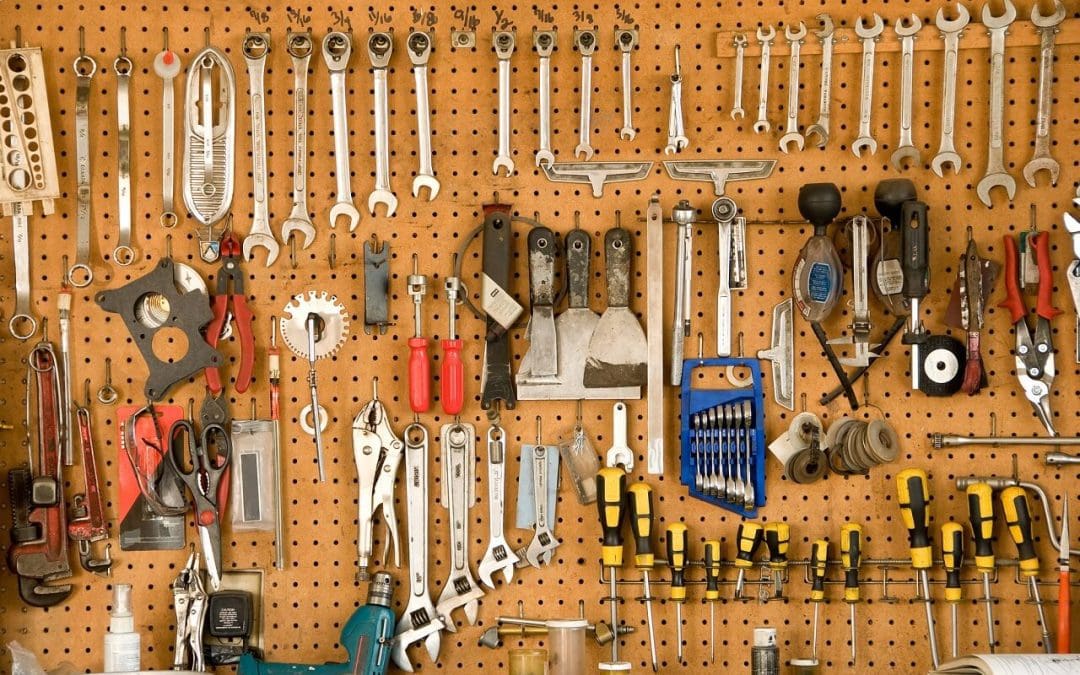
Organize Your Tools While You Build a Home Workshop
Tool organization is essential for an efficient workshop. Start by sorting your tools into categories: hand tools, power tools, measuring tools, and so on. Install pegboards on the walls to keep frequently used tools within easy reach. Use toolboxes, shelves, and cabinets to store other tools and supplies. Labeling storage areas can help keep everything organized and easy to find.
Set Up Electrical and Lighting
Proper electrical setup is crucial for a functional workshop. Ensure there are enough outlets to power your tools and equipment without relying on extension cords. Hire a professional electrician to install additional outlets or upgrade your electrical system if necessary. Good lighting is also essential; a combination of overhead lights and task lighting will help you see your work clearly and reduce eye strain.
Ensure Ventilation and Safety
Safety should be a top priority in your workshop. Adequate ventilation is necessary to remove dust and fumes. Install an exhaust fan or a dust collection system to keep the air clean. Keep a fire extinguisher and a first aid kit readily accessible. Make sure your workshop is equipped with proper safety gear, such as goggles, ear protection, and gloves.
Personalize Your Space When You Build a Home Workshop
Finally, personalize your workshop to make it a comfortable and inspiring place to work. Add decorations, posters, or anything else that makes the space uniquely yours. Consider adding a sound system for music or a small refrigerator for refreshments. The more enjoyable your workshop is, the more time you’ll want to spend there.
Maintain Your Workshop
Keeping your workshop clean and organized is an ongoing task. Regularly tidy up your space, return tools to their designated spots, and check for needed repairs or maintenance. A well-maintained workshop will remain efficient and enjoyable to use.
Building a home workshop requires careful planning and organization, but the effort is worth it. From planning a functional layout to ensuring proper electrical and safety setups, you can create a workshop that meets your needs and inspires your projects.
FAQs
How can I soundproof my workshop to minimize noise?
Soundproofing your workshop can help reduce noise disturbances, especially if your workshop is in a shared living space. You can add insulation to the walls, ceiling, and floor to absorb sound. Using heavy curtains or acoustic panels on the walls can also help. Installing weatherstripping around doors and windows can reduce noise leakage. Additionally, placing rubber mats on the floor can minimize vibrations from machinery.
What type of flooring is best for a workshop?
The best flooring for a workshop is durable, easy to clean, and comfortable to stand on for long periods. Epoxy-coated concrete is popular because it is tough and resistant to stains and spills. Rubber or foam mats provide comfort and reduce fatigue. Interlocking vinyl or rubber tiles are another good option, offering both durability and ease of installation.
How can I make my workshop more energy-efficient?
Use energy-efficient lighting, such as LED bulbs, to make your workshop more energy-efficient. Insulate the walls, ceiling, and doors to maintain a comfortable temperature and reduce heating and cooling costs. Use power strips with switches to easily turn off multiple tools and devices when not in use. Consider investing in energy-efficient tools and equipment that consume less power.
What should I consider when choosing a dust collection system for my workshop?
When choosing a dust collection system, consider the size of your workshop, the types of tools you use, and the volume of dust generated. A small, portable dust collector or shop vacuum can be sufficient for a small workshop with light to moderate dust production. For larger workshops or those with high-dust tools like table saws and sanders, a more powerful, stationary dust collection system with ductwork to each tool may be necessary.
House2Home Inspection Services provides professional home inspections in the Tampa Bay area and surrounding counties. Contact us to request our services.